
I still remember the first wreath I made at my kitchen table. There were rolls of mesh everywhere, ribbon tails on the floor, and one very patient cup of tea going cold beside the glue gun. The finished piece was not perfect, but the moment I hung it on the front door, the whole entry felt softer, happier, and more personal. That is the quiet charm of a deco mesh wreath. It brings volume, color, and a handmade welcome without needing expensive materials or advanced craft skills. With the right base, balanced layers, and a little editing, you can create a front door focal point that feels full but not fussy, seasonal but still tasteful, and polished enough to suit modern home decor.
Why a Deco Mesh Wreath Still Matters in Home Decor
A wreath does more than fill a blank door. It sets the mood before anyone steps inside. A well-made deco mesh wreath can warm up a plain entryway, add color to a neutral exterior, and help your home feel cared for. Modern homeowners keep returning to this craft because it solves several decor problems at once: cold doors, empty porches, flat seasonal styling, and store-bought pieces that feel too generic. Better Homes & Gardens treats front door decor as a first impression that can shape curb appeal, while Architectural Digest often frames wreaths as seasonal pieces that refresh the entry without a full makeover. The key is restraint. Choose a palette, control the scale, and let the wreath support the home instead of fighting it.
1. Choose the Right Wreath Frame for Structure
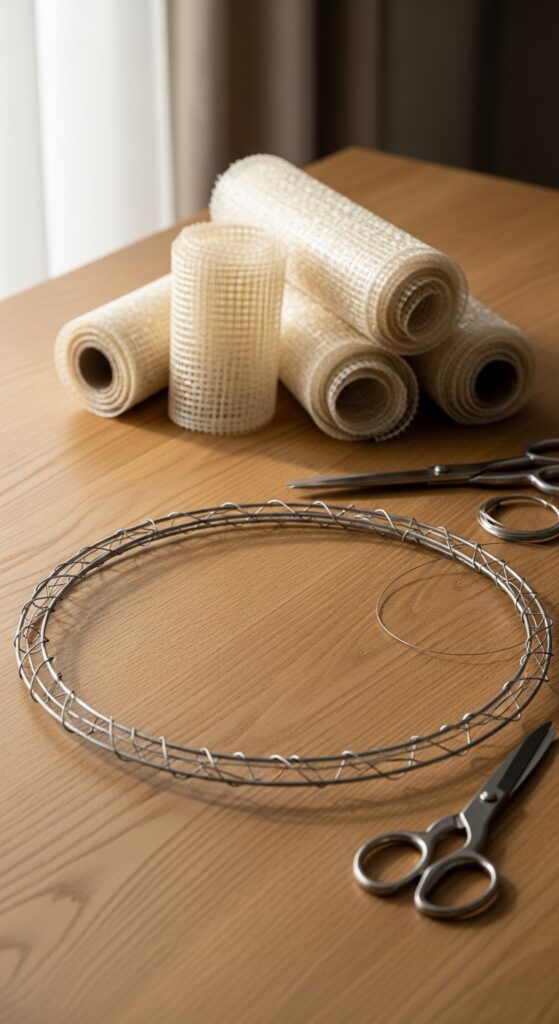
Start with a wire wreath frame because structure decides whether the finished piece looks full or floppy. A 14-inch frame works for small interior doors, while an 18-inch frame suits many standard front doors. Larger doors may need a 20-inch frame so the wreath does not look lost. The design impact comes from scale: the wreath should feel balanced against the door, hardware, sidelights, and surrounding trim. Place the frame on a flat table before cutting anything. Check that it sits level and has enough ties or openings for mesh. Avoid starting with a weak base, a bent frame, or a size that blocks the handle. A strong foundation makes every later step easier. For basic tools, you can also browse DecorFixer’s Beginner Tools category.
2. Pick a Color Palette Before Buying Mesh

Color gives the wreath its personality, so choose the palette before you fill your cart. For timeless styling, try warm neutrals, muted sage, cream, champagne, soft clay, or dusty blue. For festive styling, use two main colors and one accent rather than five loud shades. This works because visual harmony comes from repetition, not excess. A deco mesh wreath looks best when it connects with the door color, porch planters, doormat, and nearby hardware. Lay the mesh, ribbon, and ornaments beside each other in natural light. Avoid mixing too many shiny finishes or unrelated colors. If the palette feels calm on the table, it will usually feel calm on the door.
3. Use Quality Deco Mesh With Enough Body
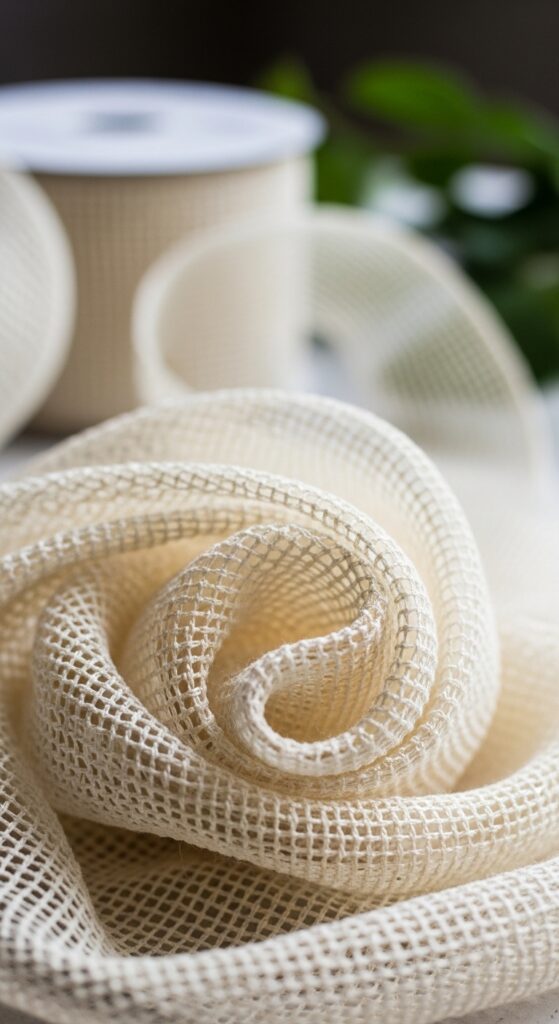
Deco mesh needs body. Thin mesh collapses quickly, frays more, and often makes the wreath look sparse even when you use a lot of it. Choose mesh that feels springy when you gather it in your hand. It should hold a curl, puff, or ruffle without turning limp. This matters most for front doors, covered porches, entryways, and seasonal displays that you want to reuse. Cut a small test piece before making every section. If the edges unravel badly, use sharp scissors or a rotary cutter and handle it gently. Avoid pulling the mesh too hard through the frame. You want soft volume, not stretched fabric that loses its shape.
4. Cut Mesh Pieces With Consistent Measurements
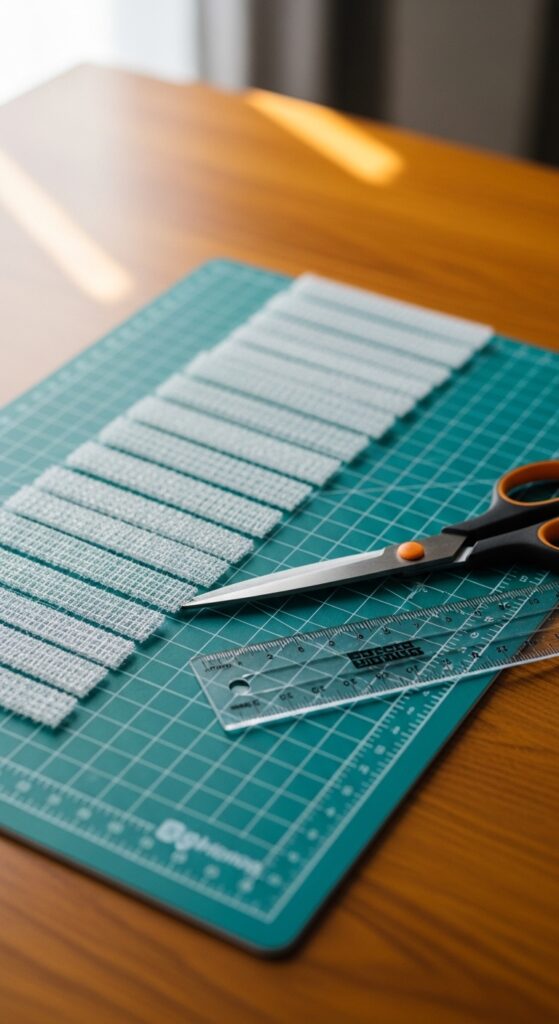
Consistent cuts create a polished wreath. For a beginner-friendly ruffle method, cut mesh pieces around 10 to 12 inches long. For a fuller curl method, cut longer pieces around 10 by 10 inches if the roll width allows it. The design impact comes from rhythm: repeated sizes help the eye read the wreath as intentional. Stack the pieces loosely in small groups so you can work without stopping every minute. Use a cutting mat if you have one, and keep your edges as clean as possible. Avoid guessing each cut by eye once you start. Uneven pieces can work in rustic decor, but they often make mesh wreaths look messy. For affordable starter supplies, see DecorFixer’s guide to Amazon home-improvement products under $50.
5. Make Ruffles for Soft, Full Texture
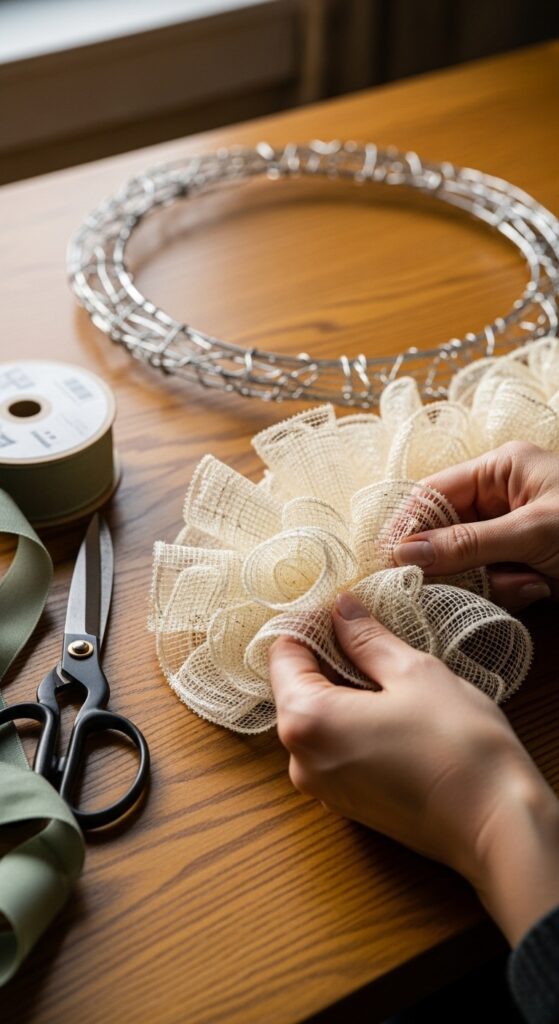
Ruffles give a deco mesh wreath a lush, gathered look without adding heavy ornaments. Lay one mesh piece flat, place your fingers at the center, and scrunch it upward like a little bow tie. Secure that ruffle into one twist tie on the wreath frame. This technique works beautifully for front doors, kitchen wall decor, craft-room displays, and cozy living spaces where you want a soft seasonal focal point. Keep the ruffles facing the same general direction for an orderly finish. Avoid crushing them too tightly in the tie. A light hand keeps the wreath airy, while the repeated folds create tactile texture and a fuller silhouette.
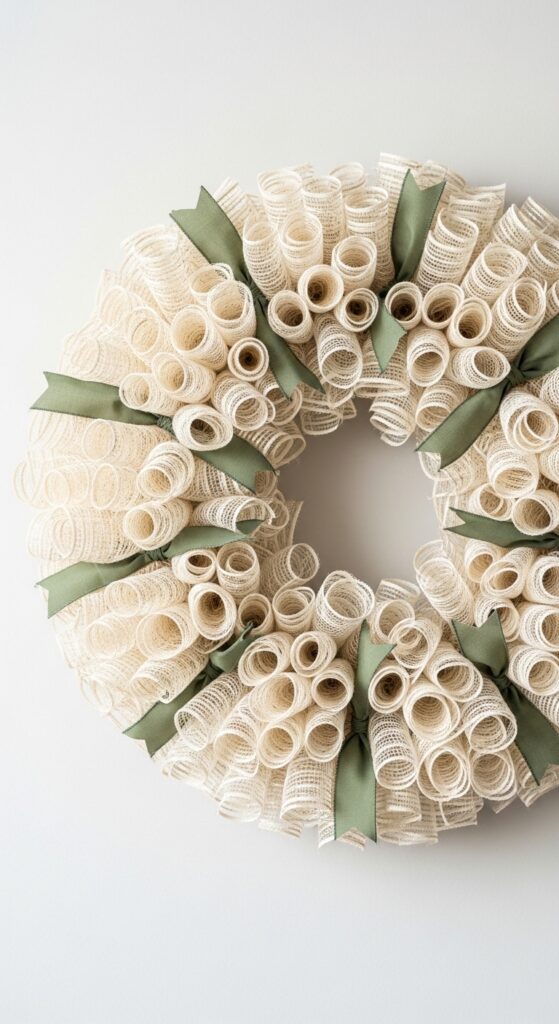
6. Try the Curl Method for More Movement
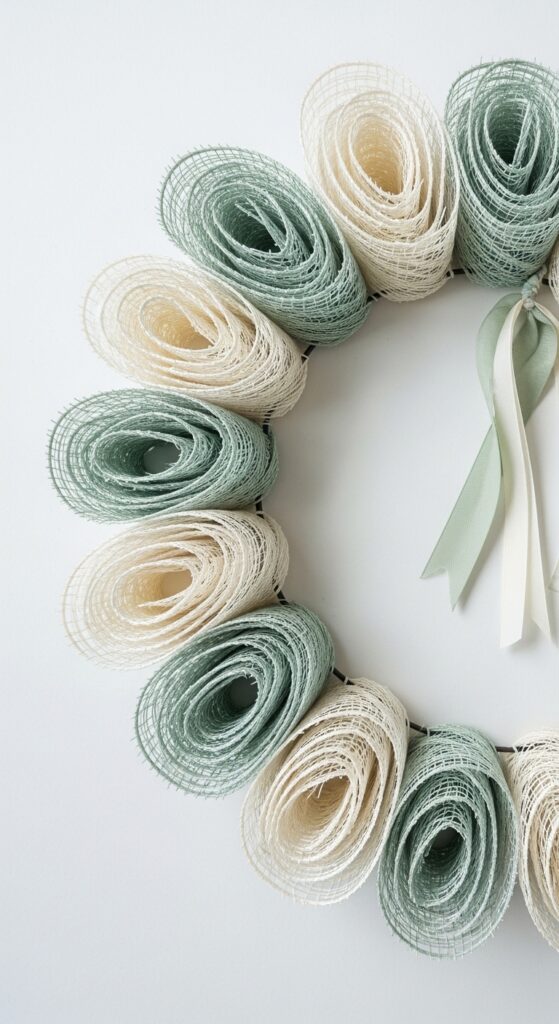
The curl method creates rounded loops that feel playful and dimensional. Roll each mesh square into a loose tube, pinch it at the middle, and attach two or three curls into one tie. This works well for holiday wreaths, kids’ room doors, party decor, and porch displays that need more movement from a distance. The design theory is simple: curved shapes break up flat surfaces and catch light from different angles. Keep each curl loose enough to show its shape. Avoid rolling the mesh too tightly or the wreath may look stiff. You can mix curls with ruffles, but keep the colors controlled so the design does not feel busy.
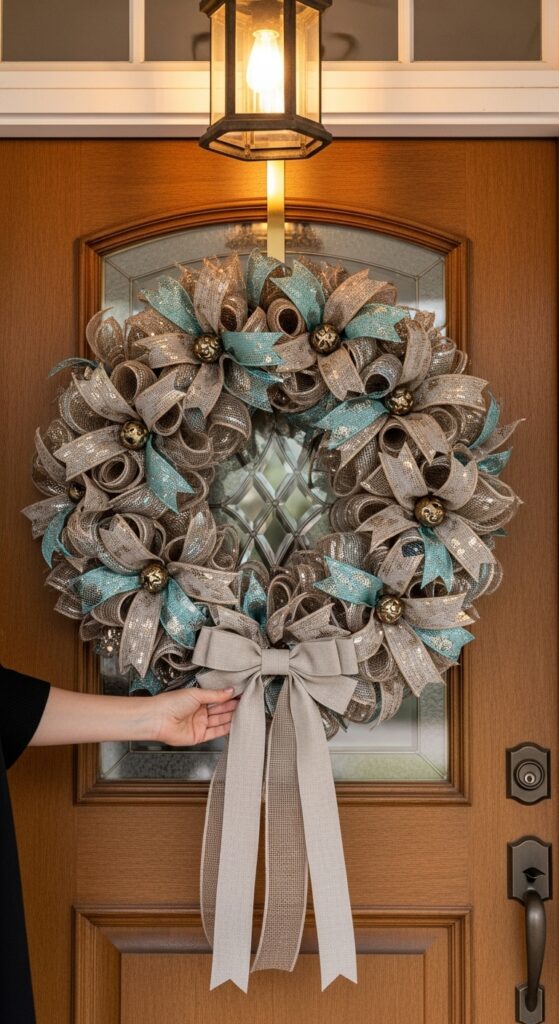
7. Layer Ribbon Tails for a Designer Finish
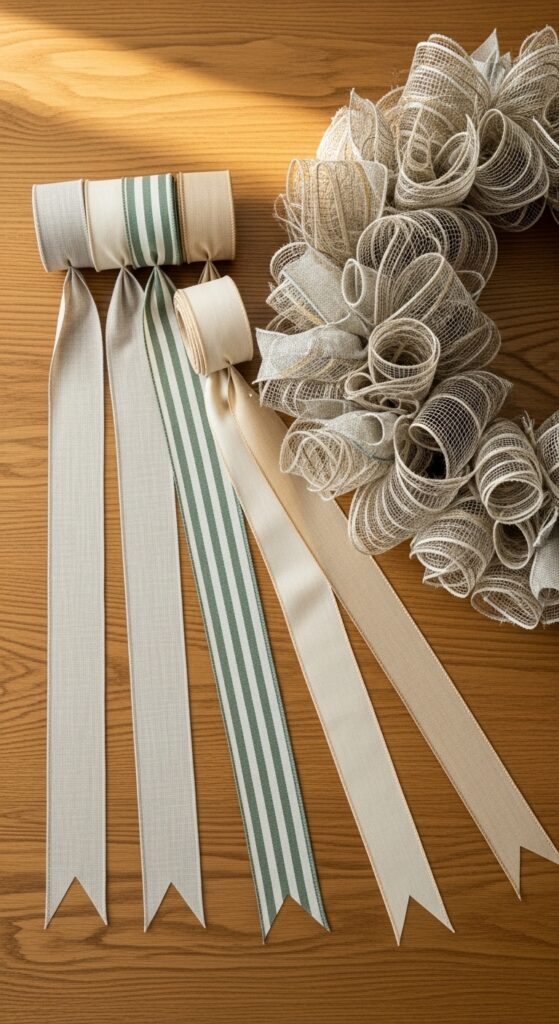
Ribbon tails bring pattern, contrast, and a tailored edge to the wreath. Cut wired ribbon into 10 to 12-inch strips, fold each strip in half, and trim the ends into a clean V shape. Add one or two ribbon tails into selected ties across the wreath rather than every single tie. This creates balance and keeps the mesh visible. Ribbon works best near entryways, mantels, interior doors, and front porch styling where details are easy to see. Choose one patterned ribbon and one solid ribbon in related tones. Avoid thin ribbon without wire, as it often droops. Also avoid too many prints. One lead pattern feels more refined.
8. Build a Clear Focal Point
Every good wreath needs a place for the eye to rest. That focal point might be a bow, a small sign, a cluster of florals, a velvet ribbon, or a few seasonal picks. Place it slightly off-center for a relaxed designer look, or center it if your door already has strong symmetry. Architectural Digest notes that bow placement can help balance proportions on doors and windows, and that same idea works well here. Keep the focal point in scale with the wreath. A tiny sign can disappear, while an oversized plaque can flatten the mesh. Avoid adding three competing focal points. One main moment usually looks more expensive.
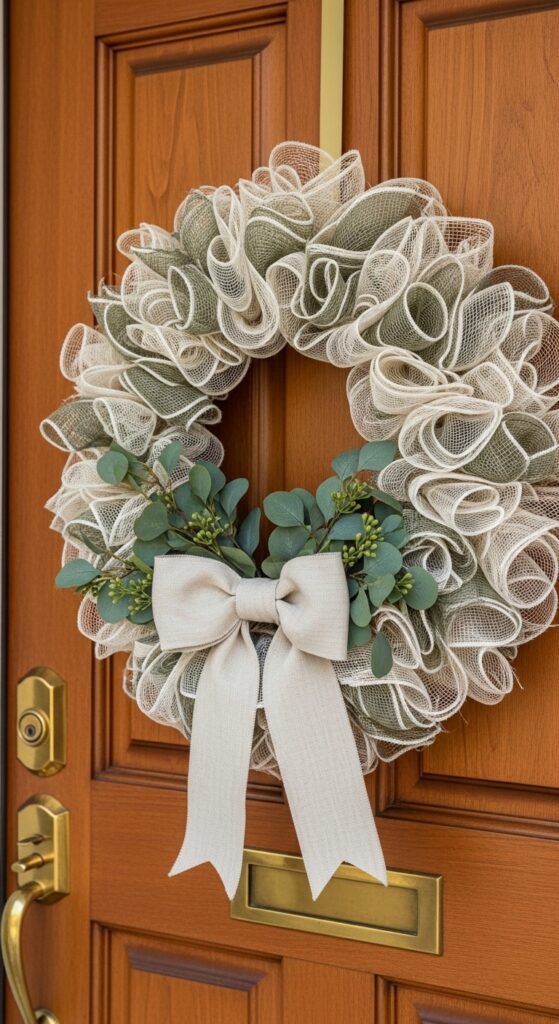
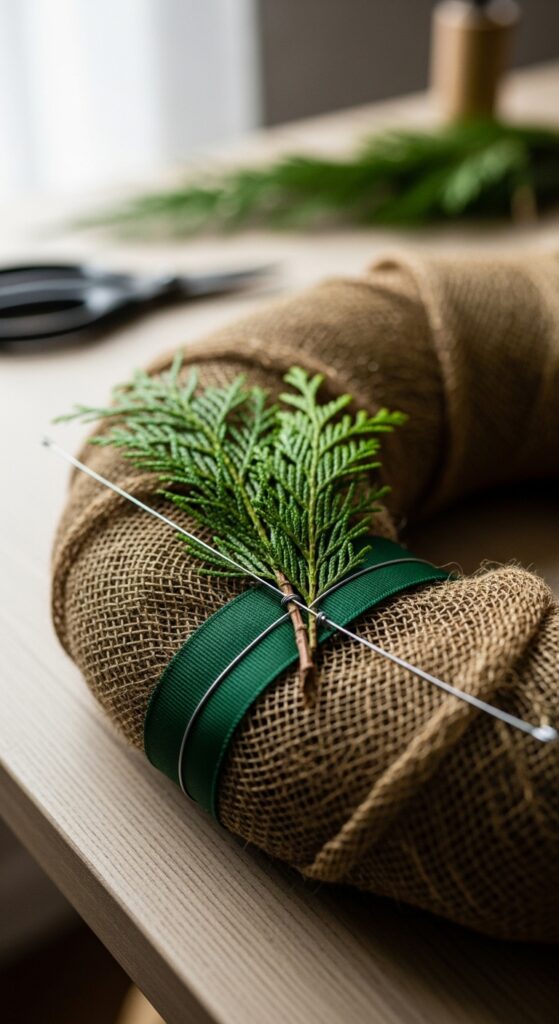
9. Add Natural Materials for Warmth

Mesh can look shiny on its own, so natural materials help soften it. Tuck in dried orange slices, faux eucalyptus, mini pinecones, cotton stems, raffia, jute ribbon, wooden beads, or small grasses. These details add organic modern warmth and pair well with earthy palettes. Use them on front doors, covered porches, breakfast nooks, and mudroom walls where handmade texture feels welcome. Add natural accents in small clusters, then step back. They should support the mesh, not hide it. Avoid using untreated fragile pieces outdoors unless the door has coverage. Also avoid mixing too many raw finishes at once. Three repeated materials usually feel more curated than ten.
10. Balance Fullness Without Overcrowding
A full deco mesh wreath should feel generous, not heavy. After you attach the first layer, hold the wreath upright and look for gaps. Add mesh only where the frame shows or the shape feels uneven. This step matters because volume controls the whole design impact. Too little mesh looks unfinished. Too much mesh hides the ribbon, bow, and focal pieces. This rule works for any room or season, from spring porch decor to holiday mantel styling. Fluff the ruffles with your fingers instead of adding more pieces right away. Avoid packing every empty inch with decoration. Negative space helps the wreath breathe and keeps the shape readable.
11. Secure Each Piece for Real Door Use
A wreath that looks beautiful on the table still needs to survive real door use. Twist each tie firmly, tuck sharp wire ends toward the back, and secure heavier accents with floral wire. Use hot glue only where it makes sense, and avoid relying on glue for pieces that carry weight. This matters for front doors that open often, breezy porches, and homes with kids or pets moving through the entry. After the wreath is built, give it a gentle shake over the table. Anything loose needs more support. Avoid leaving wire ends exposed. A polished wreath should feel safe to handle as well as pretty to see.
12. Style the Wreath With the Door and Porch
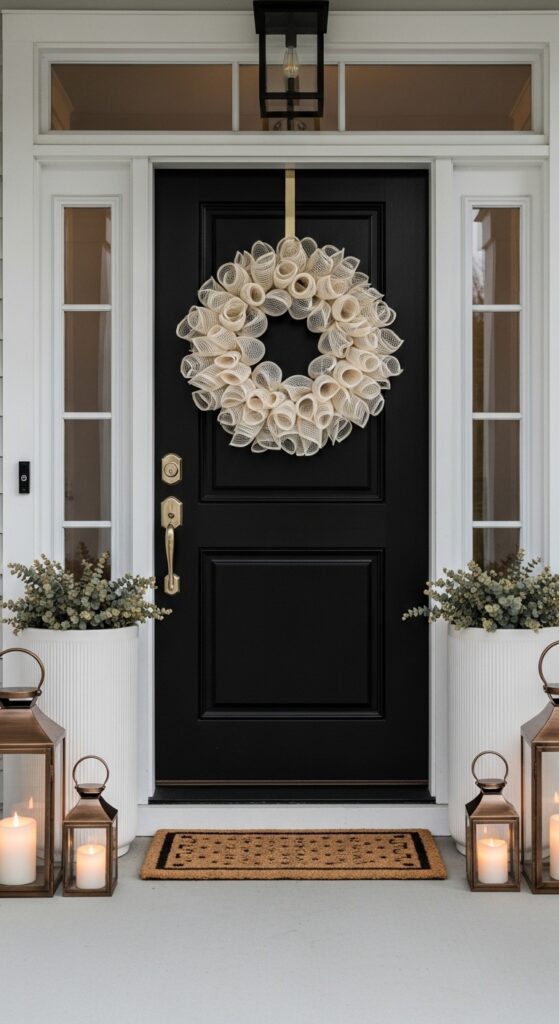
The wreath should connect with the larger entry, not sit there like a random craft project. Match one color from the wreath to the doormat, planters, lanterns, or outdoor pillows. Better Homes & Gardens highlights the power of symmetry, planters, lighting, and cohesive front door details, and this same approach helps a deco mesh wreath feel styled. On a black door, try cream, greenery, and warm metallics. On a wood door, use soft green, ivory, linen, and natural ribbon. Avoid placing a bold wreath beside a loud mat, busy planters, and bright signage. Let one item lead and the others support it. For porch styling ideas, see DecorFixer’s DIY patio projects for beginners.
13. Adjust the Wreath for Each Season
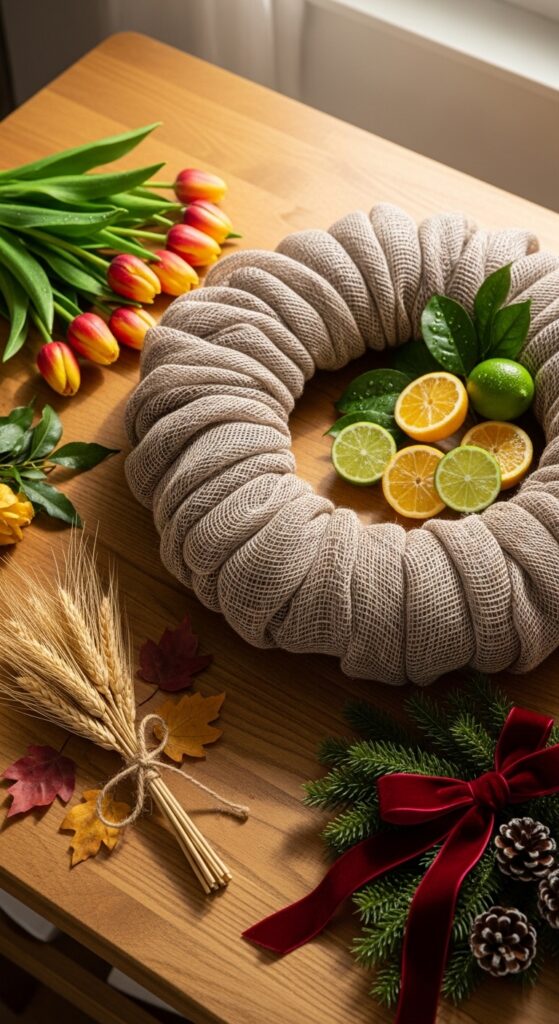
A smart wreath base can carry you through more than one season. Start with a neutral mesh base, then change the ribbon and accent pieces as the months shift. Use tulips and soft sage for spring, coral or lemon accents for summer, rust and wheat for fall, and velvet ribbon with greenery for winter. Architectural Digest’s spring wreath ideas also show how botanicals, moss, lavender, and flexible branches can create softer seasonal texture. This approach saves money and keeps the design flexible. It works well for renters, busy parents, and anyone who likes fresh decor without storing dozens of wreaths. Avoid gluing every seasonal piece permanently if you want to reuse the base. Wire-on accents give you more freedom and less waste.
14. Hang It at the Right Height and Edit the Final Look
Hang the wreath at a comfortable eye level so it feels connected to the door rather than floating too high. Step back from the street or hallway and check the shape, color, and fullness. If one side looks heavier, fluff or shift a few pieces. If the bow blocks the peephole, move it. If the bottom brushes the handle, raise the hanger. This final edit is where a beginner project starts to look professional. The wreath should support natural light, door hardware, and the surrounding entry. Avoid skipping this step. A few small adjustments can make the finished deco mesh wreath look calm, balanced, and intentional. For future entry styling, save DecorFixer’s Entryway Ideas category.
Frequently Asked Questions
How much deco mesh do I need for one wreath?
Most medium wreaths need one to two rolls of 10-inch deco mesh, depending on the frame size and method. Ruffles often use less mesh than dense curls. Buy one extra roll if you want a very full look or plan to mix colors.
What is the easiest deco mesh wreath method for beginners?
The ruffle method is usually the easiest. Cut equal pieces, scrunch each piece in the middle, and attach it to the wreath frame with twist ties or chenille stems. It creates fullness quickly and feels more forgiving than tight curls.
Can I use a deco mesh wreath outside?
Yes, you can use it outside if the materials suit outdoor conditions and the door has some protection. Covered porches work best. Rain, strong sun, and wind may fade mesh, weaken glue, or damage delicate accents over time.
How do I stop deco mesh from fraying?
Use sharp scissors or a rotary cutter, handle the mesh gently, and avoid overworking the cut edges. Some crafters use a light heat-sealing method, but beginners should be careful and test first. Ribbon and layered placement can also hide small frays.
What colors make a deco mesh wreath look expensive?
Warm neutrals, ivory, champagne, muted green, soft gold, clay, black, and natural linen tones often look refined. The secret is not only the color itself. A limited palette, repeated textures, and controlled shine make the wreath feel more high-end.
Let Your Door Tell a Softer Story
A handmade wreath carries a feeling that store-bought decor rarely has. You notice the ribbon you chose because it matched the planter by the door. You remember adjusting the bow until it finally sat right. You see the soft mesh catching afternoon light, and the entry feels a little more like you. A deco mesh wreath does not need to be perfect to be beautiful. It needs balance, care, and a clear mood. Trust your eye as you work. Remove what feels noisy. Add what feels warm. The best home decor grows from small choices that tell your story before anyone even steps inside. For more home styling inspiration, visit DecorFixer.